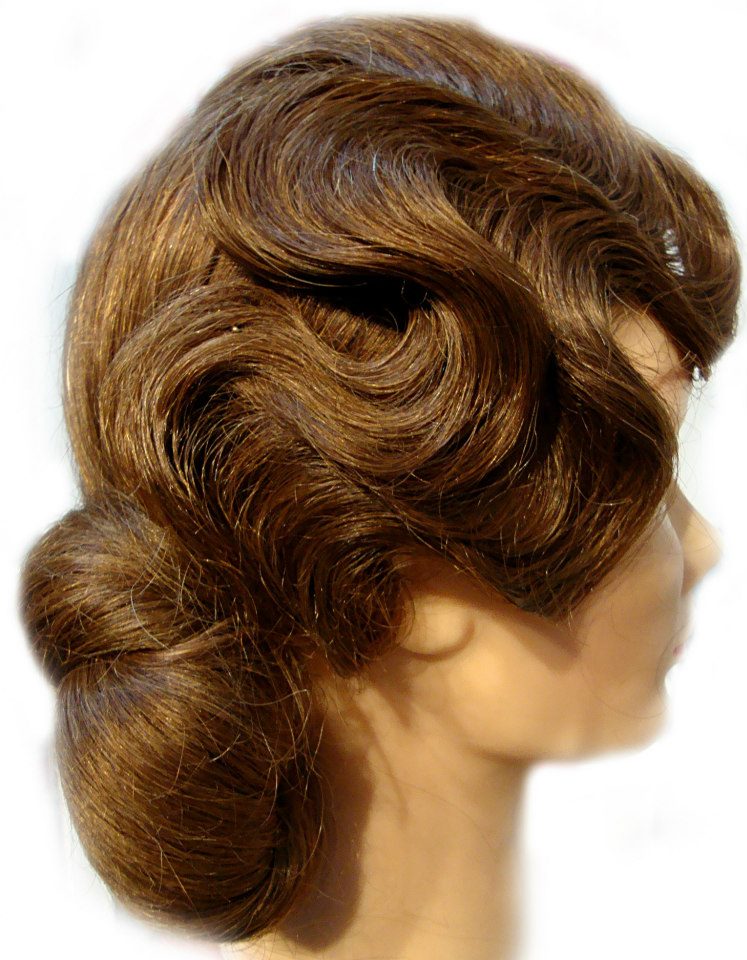
logo

Blog

Dutch style braids

To create this whimsical look that my stunning bride wanted, i formed two dutch style braids on the edges and teamed the hair with a lot of smooth volume on-top.

The back section was then taken into a low partly braided chignon. What a beautiful bride! x


View Comments (6,069)

Close Post

Smooth but textured hair up

I’ve had a lot of people ask me how I done this style, so I here goes 🙂

1. Section hair from left temples to the right of the head (roughly two inches wide depending on the amount of hair you have and head shape)
Isolate the above hair.

2. Split this section into two to form two Dutch braids. Pull and pinch the braids to create fullness and texture.
Once you reach the end of the hair of the first braid take a middle section out. Whilst holding the remainder of the braid firm push this middle section up the braid. This creates the texture that you see. Pin to secure. Do this with the second braid.

3. Work from the left side of the head taking curved sections until you reach the front. With each section start the braid further around the side of the head whilst using the same technique mentioned previously.

4. Once you reach the front section twist slightly and pin to secure.

5. To finish make sure no pins are showing; a perfect hair up should never show pins 🙂


View Comments (2,734)

Close Post

Hair up (Twisted rope braid)

Today i thought i would share with you an Adele inspired hair up. Adele loves to create volume, especially thought the front section of her hair.

This style is great for any event. It is soft but sophisticated.

1.The top section of the hair is isolated from the temples around.

2. A rope braid is created in the bottom section. The hair is pull and punched to create more texture.

3. The top section is back combed and tucked and pinned into the twisted rope braid.

Hope you like it 🙂


View Comments (1,134)

Close Post

Vertical roll (French pleat)

This week i thought i would share with you one of my all time favourite hairstyles, the vertical roll.

The design is often also known as a French pleat. It is a classic look that goes back to the 1940s; I love this style for formal occasions, depending on the finish it can look extremely glamorous.

1. Take a panel of hair roughly three inches wide from the crown forward, back comb and isolate.

2. Depending if the client wears it on right or left, criss cross grips slightly to one side (if you are rolling it too the right criss cross them in the middle but slightly to the left)

3. If you can roll that in one section if not two sections (using a long hair pad is optional)

4. Take down the isolated section and roll and blend


View Comments (18)

Close Post

Hair up (Bridal, event hair)

This week i thought i would share a popular style! Which is very classic and never dates; it looks great with a hair vine for a wedding.

1. This hair up was created by working on the top section first. A hair pad was used to create the bulk and volume.

2. Hair was then backcombed and gentle placed over the padding and secured (you could curl this hair before to give a different look if required)

3. The bottom section was smoothed across, twisted and secured at the side of the bouffant.


View Comments (18)

Close Post

Glamorous hair

This week i wanted to share something glamorous and feminine. These sculptured shapes are ideal for any wedding or event. These shapes are created by starting with a foundation and building the structure from this.

The rhinestone cluster pins are ideal for this style, alternatively tiny fresh Flowers on wire would look beautiful depending on your theme.


View Comments (22)

Close Post

Smooth bun

This week there has been alot of smooth top knots and buns in the press so i thought i would share with you a smooth hair bun. This hair up reminds me of the hair Jennifer Lopez sported in the film Maid in Manhattan.

1. The hair is sectioned from behind the crown to the ears

2. Three sections are then taken through the front and isolated (one panel through the middle and two either side of this)

3. The back section is then put into a high ponytail using a hair band with two grips either side to secure the ponytail. (you can add one of the side sections into the ponytail if you prefer; that will mean you only have to wrap one section at the end, plus you will have more hair for the bun)

4. This hair is back combed and a hair net is pinned and placed over the backcombed hair.
The hair is moulded into place and secured with grips (You can mould into what ever shape you like, that’s why I love using hair nets and making my own hair pads)

5. The middle panel is released and placed over the bun like a veil. It is then pinned to secure.

6. The two remaining panels are wrapped around the bun, one at a time and secured.

My idea of a flawless hair up is one that has no pins or padding on show.
Hope you like it 🙂


View Comments (6,905)

Close Post

Bow hairstyle

The bow hairstyle was first used in wedding hairstyles to create a classic polished look. Lady Gaga then sported a edgy version of it, which is now bang on trend.

I love the way we are now using our hair to create accessories! Let me know what you think; i love mixing classic with this modern


View Comments (18)

Close Post

Finger waves

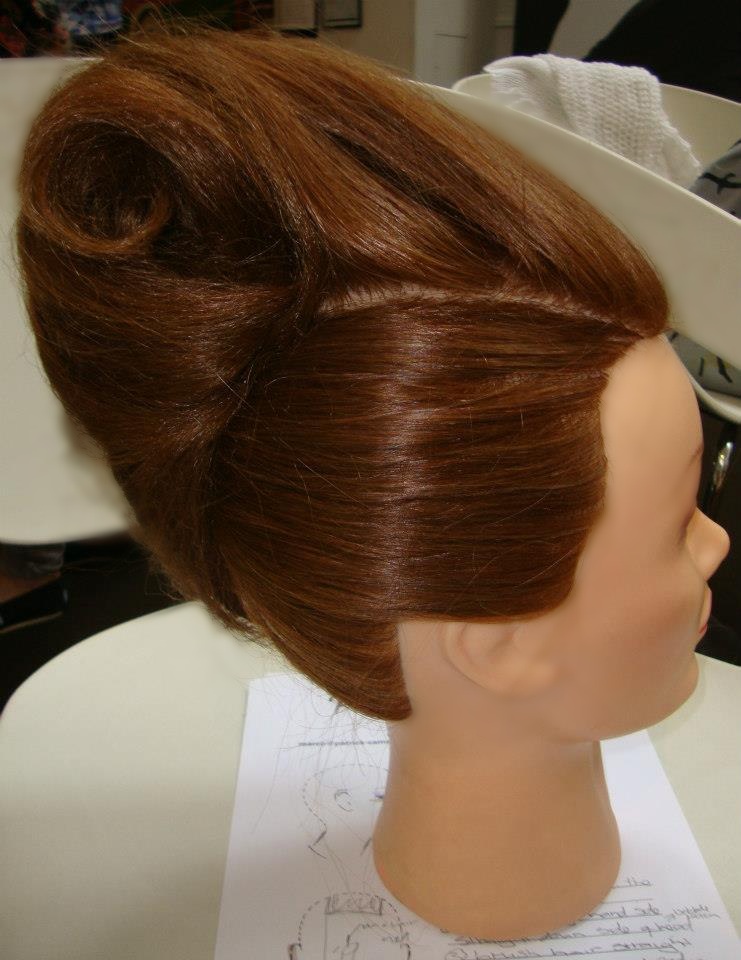
In this weeks blog I’m talking about finger waves. We all love finger waves; so classic and elegant. Finger waves were popular in the 1920’s, 1930’s and in the late 1990’s in North America and Europe. They were developed in the 1920’s to add style to, and soften the hard appearance of the bobbed hairstyles that became very popular during the flapper period. Many Hollywood movie stars wore the latest finger waves which contributed to the popularity and evolution of this style.

1. Take a panel of hair two inches wide to the crown. Section and isolate.

2. Smooth the remaining hair to the right of the head and use a band with two grips to secure the hair into a low ponytail.

3. Divide the ponytail into two sections and twist the sections around each other.

4. Wrap the twist and secure with pins.

5. Take the top section down. Work from the front to the crown taking sections and curling them forward.

6. Brush through and use wave clips.

7. Wait for the hair to cool and form it’s shape. From here add the finger wave into the twist at the back of the head.


View Comments (14)

Close Post